
Patch installation procedure
After downloading the patch executable from bitbox or from the download link provided you can start the patch installation by running the installer.
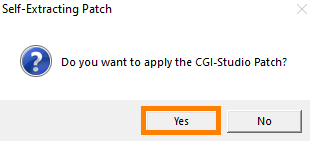
- When you run the installer, you will be asked if you want to apply the patch if this installer has your permission to make changes to your computer. If not, this process will stop. You can restart at any time.
- You will be asked if you want to apply the CGI-Studio patch.
- Select [ Yes ] to continue with the installation.
- Click the [ No ] button to cancel applying the patch.
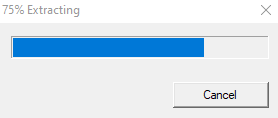
- A window will open with a progress bar for extracting compressed data.
- After the extraction process, the CGI patch installer will open.
- To cancel the extraction process, press the [ X ] button (orange box below) or the [ Cancel ] button (red box below) in the upper right corner of the window.
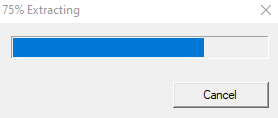
- Pressing any of the buttons will bring up a dialog to reconfirm work cancellation.
- To execute the work cancellation, press the [ Yes ] button.
- To cancel the work cancellation and continue the extraction process, press any button other than the [ Yes ] button.
- To cancel the extraction process, press the [ X ] button (orange box below) or the [ Cancel ] button (red box below) in the upper right corner of the window.
- After the extraction process, the CGI patch installer will open.
- After the extraction process, the CGI Studio Patch Installer dialog opens.
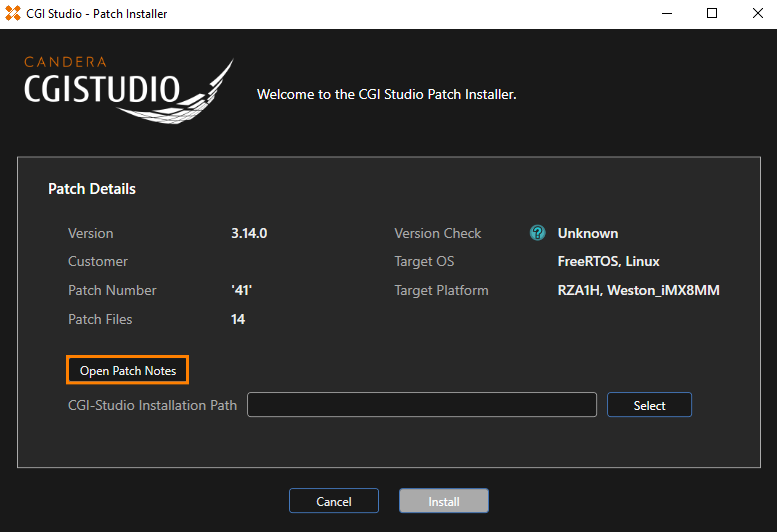
- To open the release notes (PDF) about the patch, click the [ Open Patch Notes ] button (orange box above).
-
The patch installer displays the following patch information.
Version CGI Studio version.
Customer Patch provider (customer name).
Target OS Target operating system on which Player can run. Target Platform Target machine name on which thePlayer will run. Patch Number The sequence number of the patches. Patches must be applied in the correct sequence. Patch Files Number of files to which the patch will be applied. Version Check Compatibility check of the patch.
- To start the Version Check and continue the installation process, press the [ Select ] button (orange box below) and select the path where CGI Studio is currently installed.
- You can also enter the path directly in the red box below.
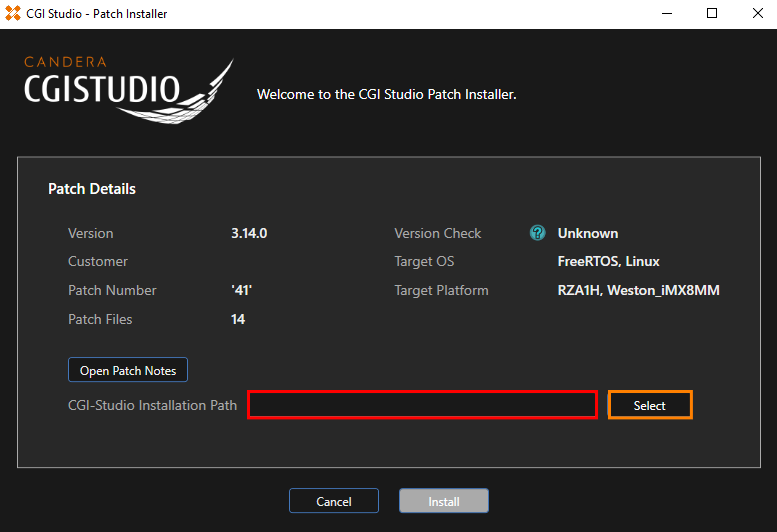
- You can also enter the path directly in the red box below.
- As soon as [ CGI-Studio Installation Path ] is selected, a Version Check will begin.
- If all Patches with lower Patch Numbers are applied and target the same Customer, Operating System, CGI Version (Note: Patch Number is different from CGI Version), and Target Platform, then the Patches are compatible. The patches are compatible if they target the same Customer, Operating System, CGI Version (Note: Patch Number is different from CGI Version), and Target Platform.
- If all Patches with lower Patch Numbers are applied and target the same Customer, Operating System, CGI Version (Note: Patch Number is different from CGI Version), and Target Platform, then the Patches are compatible. The patches are compatible if they target the same Customer, Operating System, CGI Version (Note: Patch Number is different from CGI Version), and Target Platform.
- The results of the check are displayed in the [ Version Check ] part of the dialog.
- If this check fails (Mismatch), the installation will stop.
- If Match is not displayed, try a different folder path.
- If the check results in confirmed compatibility (Match) or unknown compatibility (Unknown), installation is enabled and the [ Install ] button is activated.
- If this check fails (Mismatch), the installation will stop.
- If the [ Install ] button is enabled, press the [ Install ] button to continue the installation.
- The Install window opens and the patch is applied.
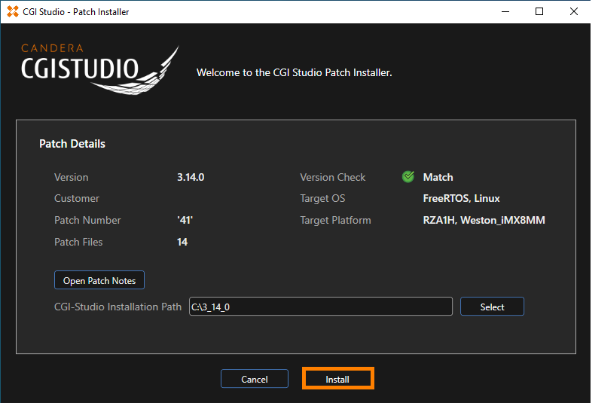
- The Install window opens and the patch is applied.
- If the Patch installation is successful, the message shown below will be displayed.
- Press the [ Exit ] button to complete the Patch installation.
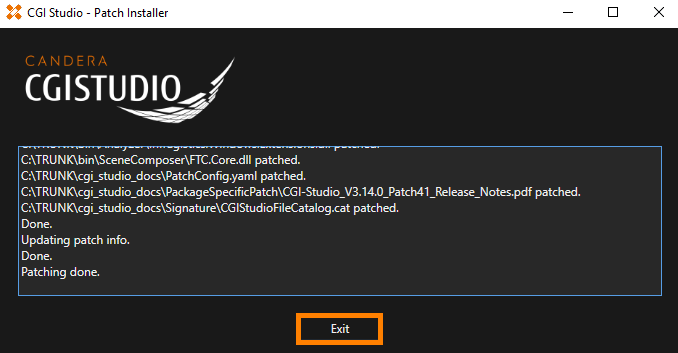
- Press the [ Exit ] button to complete the Patch installation.
In case of any questions, please contact our Support team on CGI Studio Lighthouse.