Generating and deploying an Android-App
Now an android studio project skeleton is needed for constructing a so-called apk file, which is the format of android app packages, like those on Google AppStore.
- Navigate to cgi_studio_apps/references/Android/ and copy the MlcSample project to a location you like
- From your build directory, copy the file libApplicationLib.so to following location of your project skeleton:
<MlcProject>/app/native-libs/<architecture>/ - Open Android-Studio and open your MlcSample project. This wil take a few seconds, wait till everything is ready.
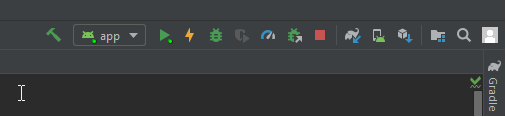
- Click at “Syncronise Project” like shown below and wait again till everything is ready:
(This is only needed when the project is opened the first time)

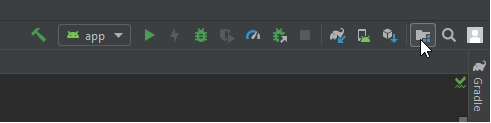
- Next click at “Show Project-Structure” like shown below:
(This is only needed when the project is opened the first time)
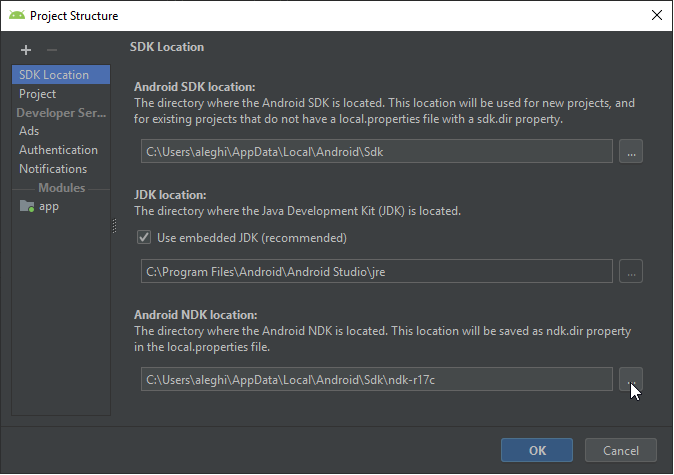
- A dialog opens. Select the tab “SDK Location” and there ensure that the field “Android NDK location” (the bottom-most one) is set to the ndk-r17c, which you installed previously:
- Click OK and you’re ready to build and deploy.
- Ensure that you connected your android device to an USB port and enabled “USB debugging” on that device.
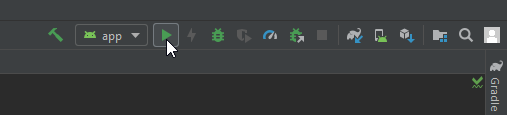
- Finally klick the “Run-Button”, like shown below and await what will happen:
- Sometimes Android Studio asks for device selection – do so and proceed…
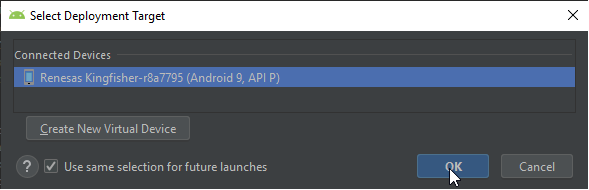
- Sometimes Android Studio asks to install missing platforms. Simply do so and proceed…
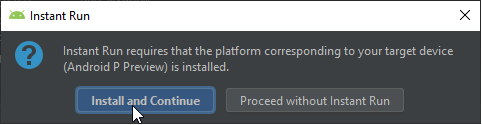
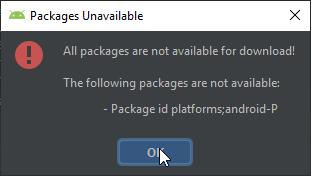
- And if you’re using an absolutely new platform like shown in the dialog above, Android-Studio still cries around: Simply klick OK to proceed and forget about that:
- Finally if the application is deployed and running, Android Studio should look like this: