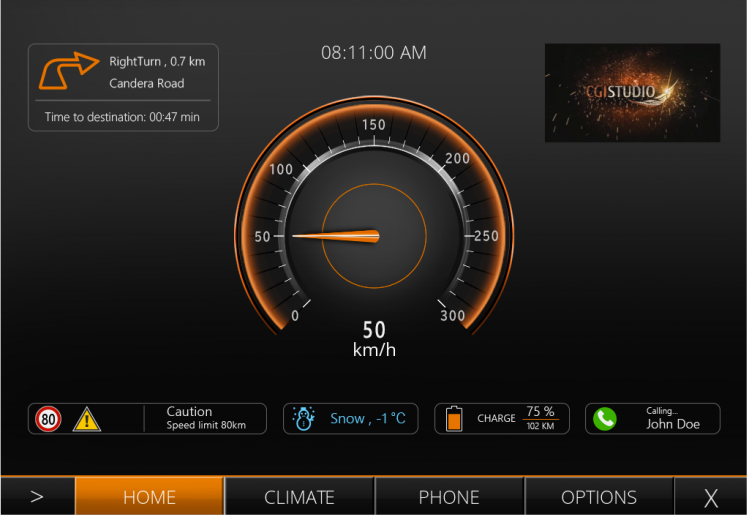
GettingStartedControls Part 5
Data-bound clock
In this step we will add a new Control that represents a clock. This clock works via data-binding. The Player that comes with CGI Studio provides one sample data-source that represents the current UTC time. This value will be bound to the clock Control. Scene Composer offers an analog and a digital clock control. In this example digital clock will be used. Note that the following steps work similarsimilarly for the analog clock.
Application specification
Because theThe data-source is defined in the Player,Player. Therefore a connection between the Player and the Scene Composer Solution has to be defined. The following approach needs to be followed if data-binding should be used.
This dialog requires two
This is root path to the source of CGI Studio Courier.
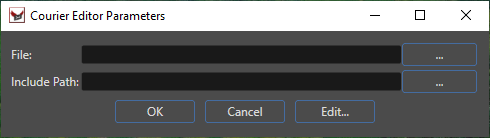
After entering

../../../../cgi_studio_player/src/Player/xhcdl/PlayerDataBinding.xhcdl Include Path
C:\CGI\cgi_studio_courier\src
Press "OK" to save the specification. In the "Output"-panel a message will be shown if the specification is valid or not.
Clock Control
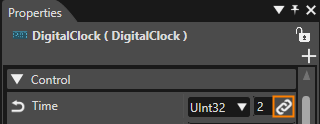
Drag the Control called "Digital Clock" into the home scene. The Control has some properties for customization. For instance the clock can be configured to show full 24 hours or just 12 hours with an "a.m." and "p.m." label. The text of those labels can be changed as well. The properties of the control look similar to this:

Add Data-binding
To add data-binding goBinding to the ClockDigitalClock Control
Scene Editor displays the editable scene. There is a DigitalClock control in the top center above the gauge.
Solution Explorer Path
SceneHome
Solution > Scenes > SceneHome
Either in Scene Editor or in Scene Tree panel select the DigitalClock control and view the configurable properties
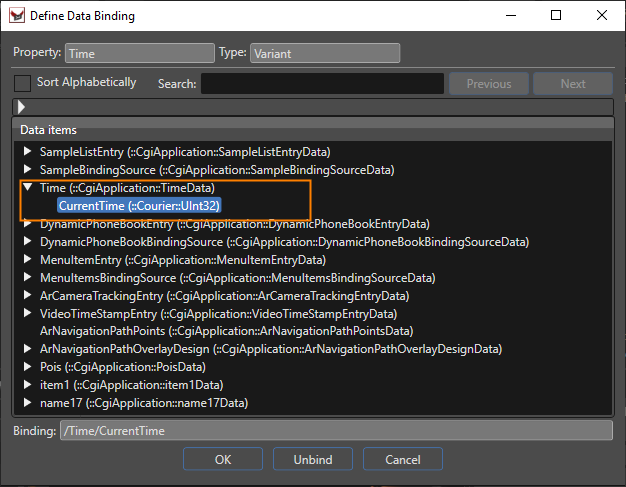
To find the binding source more easily, the dialog offers a search field. Define Data Binding dialog looks like this:

Conclusion
This concludes the Getting Started Controls tutorial. However, by providing your own custom images and further modifying the layout of the controls, you can create even more visually stunning solutions. The GettingStartedControls sample provided in CGI Studio is just one example of what can be achieved using this tutorial as a basis.