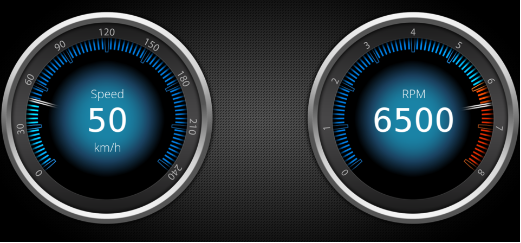
Advanced Cluster Part 4
- In the Solution Explorer navigate to the Scene2D and double click it.
- Scene2D will be opened and visible in Scene Editor and Scene Tree panel.
- In Scene Tree panel you can see that the scene contains a camera.
- In the Scene Editor's bottom toolbar make sure that "active rendering" and "widgets updating" is enabled.
- In the Scene Editor's bottom toolbar "active rendering" and "widgets updating" are highlighted as seen in the image below.

- In the Scene Editor's bottom toolbar "active rendering" and "widgets updating" are highlighted as seen in the image below.
- From the Toolbox panel under [Nodes 2D] drag a Group node into the Scene Tree panel or the Scene Editor.
- In the Scene Tree panel you can see the newly created Group node.
- In the Scene Editor you can see an indicator of the Group node's current position.
- In the Scene Tree panel you can see the newly created Group node.
- Rename the Group node according to the table below either via the context menu "Rename" or the keyboard shortcut <F2>.
- The Group node has been renamed accordingly.
Old Name New Name Group Group_Content
- The Group node has been renamed accordingly.
- In the Scene Tree panel select the Group node. In the Properties panel's [Transformations] section reset the Position property according to the table below.
- In the Scene Editor you can see the Group node's current position.
A property can easily be reset in the Properties panel by clicking on the curled arrow icon on the property's left.
Target Item Position X Y Group_Content 0.00 0.00
- In the Scene Editor you can see the Group node's current position.
- From the Solution Explorer drag the image according to the table below into the Scene Tree panel directly onto the Group_Content node.
- In Scene Tree panel you can see that a new RenderNode2D with a BitmapBrushBlend effect has been created inside Group_Content.
- In Scene Editor you can see the rendered background image.
Path in Solution Explorer Image Solution > Resources > Bitmaps BackgroundBmp
- From the Solution Explorer drag two Custom_Gauge into the Scene Tree panel directly onto the Group_Content. The path to the Custom_Gauge control is given in the table below.
- In the Scene Editor only one Custom_Gauge will be displayed since both controls are located at the same position and therefore are completely overlapping. One Custom_Gauge is hiding the other.
- In the Scene Tree panel the Group_Content node contains a RenderNode2D and the newly created Custom_Gauges.
Path in Solution Explorer Control Solution > Controls Custom_Gauge
- Rename the Custom_Gauge nodes according to the table below either via the context menu "Rename" or the keyboard shortcut <F2>.
- The Custom_Gauge node has been renamed accordingly.
Old Name New Name Custom_Gauge Custom_Gauge_Speed Custom_Gauge_1 Custom_Gauge_RPM
- The Custom_Gauge node has been renamed accordingly.
- Select the Custom_Gauge controls one after the other. In the Properties panel configure the properties as given in the table below.
- In the Scene Editor the gauge controls for RPM and Speed are both visible and configured to be distinguishable.
Custom_Gauge_RPM Property Value Position X 965.00
- In the Scene Editor the gauge controls for RPM and Speed are both visible and configured to be distinguishable.
- .
• Insert the “BackgroundBmp” (Solution->Resources->Bitmaps) to the group
• Place a Custom_Gauge into the group, name it as “Custom_Gauge_Speed”
• Set the position: X = 60, Y = 30
• Clone the “Custom_Gauge_Speed”, name it as “Custom_Gauge_RPM” and set its X position: X = 965
• Select the “Custom_Gauge_Speed” and go to its properties. Set these settings:
Input Max = 240, Value = 120, Top_Text = Speed, Value_Format Text = %d, Bottom_Text = km/h
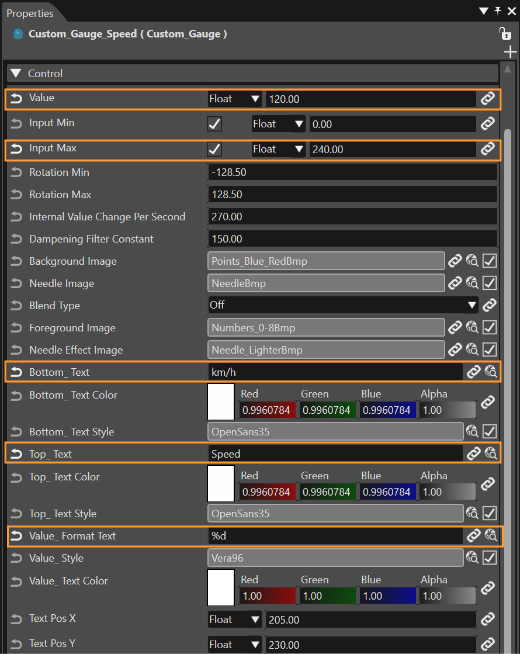
• Set the BackgroundImage to “Points_BlueBmp”
• Set the ForegroundImage to “Numbers_0-240Bmp”
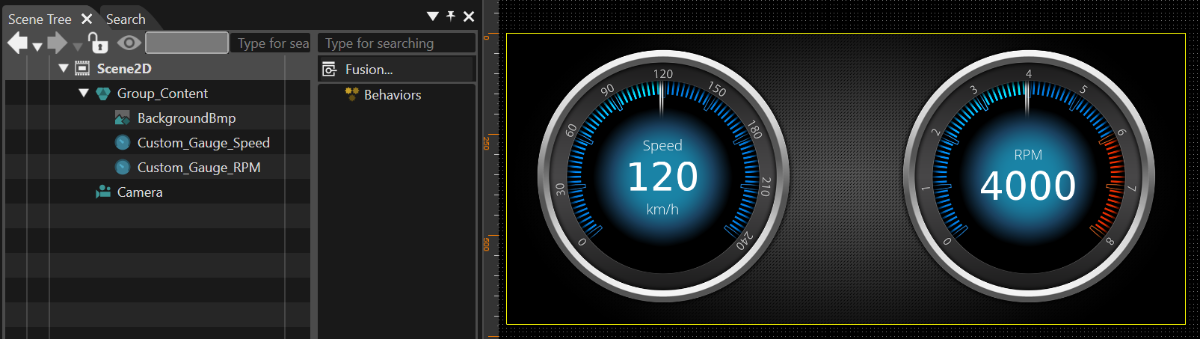
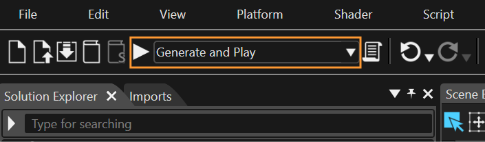
• The scene is ready. Now you can try to run it in the Player by selecting "Generate and Play" and pressing the play button in the top panel
• When the Player appears, you can manually change the accessible values for selected controls:
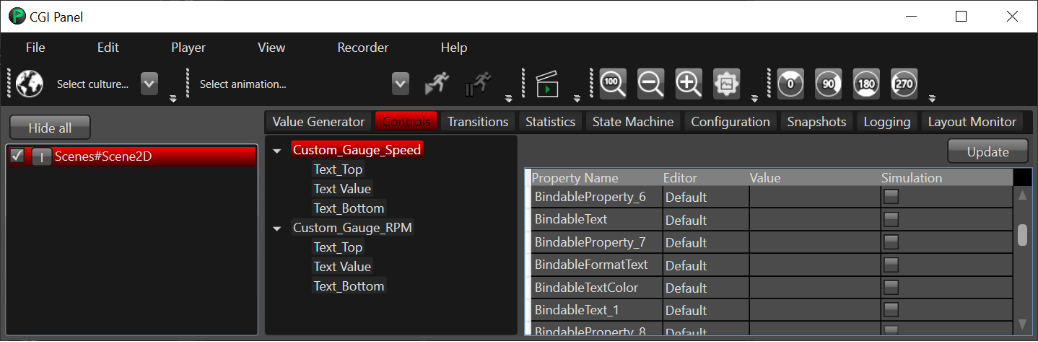
• The changes should be immediately reflected on the display: