OpenGL Bitmap Brush Mask Effects
GlBitmapBrushMaskBlend
This effect allows to add a mask (i.e. to add additional alpha information) to an image by defining a mask image. The position, orientation and scaling of this mask image is defined by a Mask Node.

Image
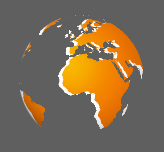
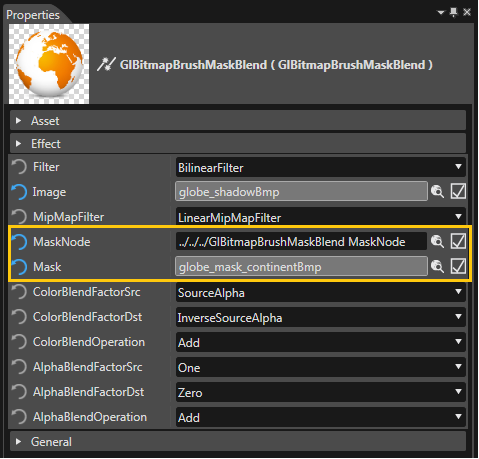
Here you can define the image that should be displayed. The image can be selected from the list of imported images in the “Choose Item” dialog. The mask itself is configured with the two additional properties “Mask Node” and “Mask”.


Mask
An image with alpha information can be configured as mask for another image. This way, the mask image can add alpha information to an image without alpha information. The color information of the mask image is not taken into account. Also, blend options are not applied between the displayed bitmap and the mask image.

Mask Node
The “Mask Node” provides transformation information (that means position, orientation and scaling factor) for the mask image. If no Mask Node is configured, the mask is set to the same position as the displayed image with no rotation and scaling factor 1. The Mask Node can be selected in the “Choose Item” dialog that opens after clicking the icon to the right of the property’s value.
GlBitmapBrushColorMaskBlend
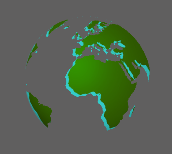
The effect OpenGlBitmapBrushColorMaskBlend is similar to OpenGlBitmapBrushMaskBlend but has an additional color Property, which the configured bitmap is blended with.

Color
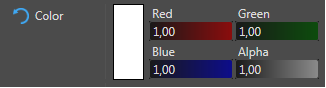
The color can be chosen in the color palette dialog where you can also define and save the custom colors you need for your project. The default blending color after applying this effect is white.