# Simulation by Player
Use Player to check the behavior of the newly created cluster. This application allows you to view scenes from asset files and run simulations. An asset file is a file output by Scene Composer that contains the graphic resources of a scene and is loaded into Candera's graphics engine so that rendering can be performed.
#### Run Player
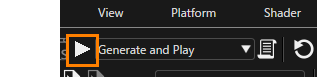
To start the Player, press the \[ Play selected scenario... \] icon in the toolbar.
If the solution saving operation has not been performed before this operation is executed, a dialog box will appear prompting you to save the solution. In this case, press the \[ OK \] button in the dialog. An asset file will be automatically generated and opened with CGI Player.
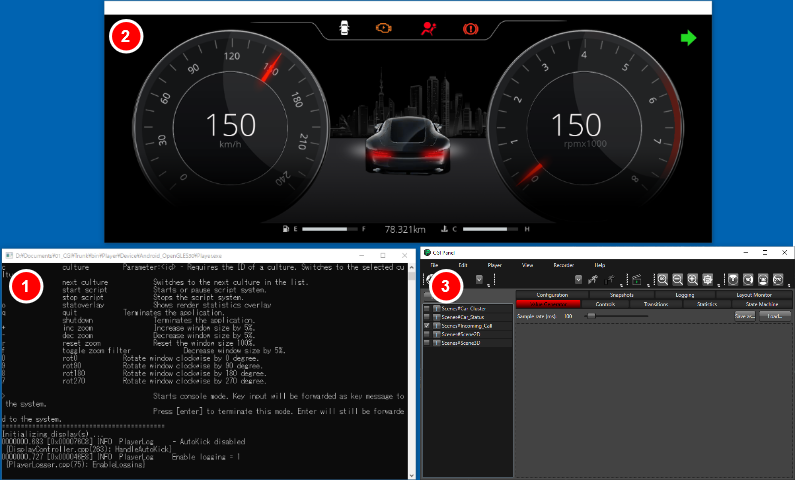
When CGI Player is executed, three windows will appear as shown in the figure below.
| Window 1 | A command line interface for sending commands to CGI Panel. |
| Window 2 | This display panel shows a simulation of the scene according to the settings. |
| Window 3 | A graphical user interface (GUI) for detailed configuration of asset files called CGI Panel.
|
#### Screen Transition confirmation
Player is used to confirm the screen transitions set up on the previous page.
1. Press the \[ Play selected scenario... \] icon on the toolbar to launch Player.
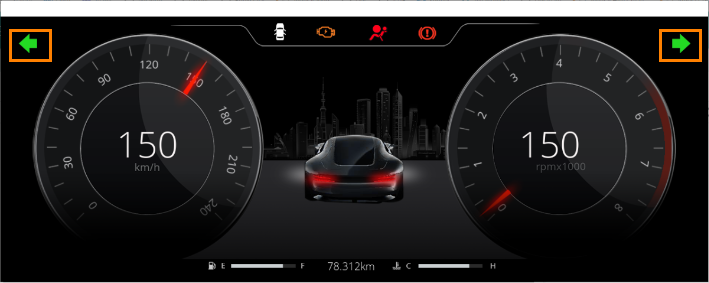
2. Click on the left and right indicators at the top left and right of the Player display.
- Click on the indicator on the right side of the "Car\_Cluster" scene to move to the "Incoming Call" scene.
- Click on the indicator on the left side of the "Car\_Cluster" scene to move to the "Car\_Status" scene.
3. Close the CGI Panel and exit Player.
- All three windows that were running will close.
#### Run simulation by Value Generator
This section describes the simulation operation using the Player's Value Generator.
1. Press the \[ Play selected scenario... \] icon on the toolbar to launch Player.
2. From the items displayed in the scene view of the CGI Panel, make sure that the "Scenes#Car\_Cluster" checkbox is checked.
- If it is not checked, check it.
- The checked scene will appear in the display panel.
3. Click "Scenes#Car\_Cluster".
- "Scenes#Car\_Cluster" will be highlighted in red.
4. Click "Controls" tab in the CGI Panel.
- \[ Controls \] will be highlighted in red.
- The controls included in the "Car\_Cluster" scene will be listed.
5. Click "SpeedGauge".
- The properties for "SpeedGauge" will be listed.
6. In the property list, check the Simulation checkbox under Value.
- "Value" is set to "Int32" by default, and simulation by Wave (sine) is applied.
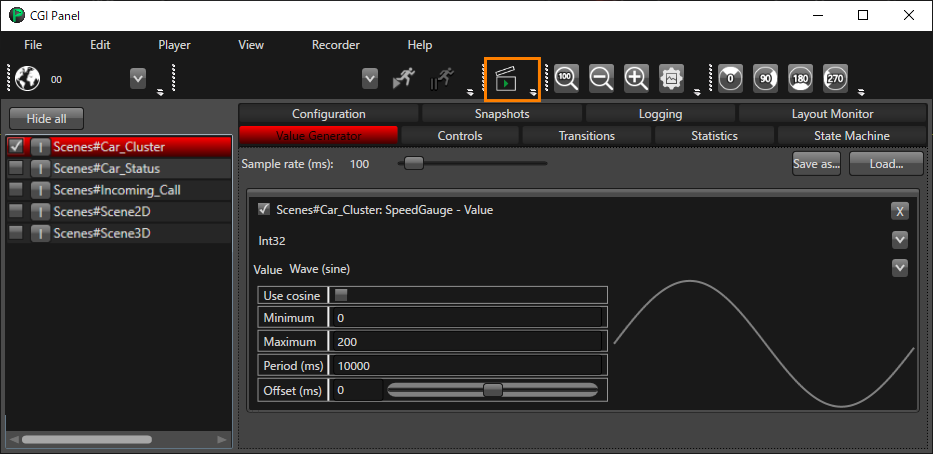
7. Click the \[ Start and Stop Value Generation Mode \] icon on the CGI Panel toolbar to start the simulation.
- Values are automatically generated based on the settings in the Value Generator tab.
If Forward Value is set in the [HMI Logic Configuration](https://doc316en.candera.eu/books/getting-started/page/hmi-logic-configuration), the gauge center value changes in accordance with the movement of the gauge needle.
The Value Generator can be used to simulate changes in control values. This makes it easy to simulate controls without having to implement logic.