# Control Center - Advanced Settings

# Overview

The Dashboard has a ribbon below the toolbar that can be expanded to offer more possibilities. This is done with the "Advanced Tabs" button on the right.

<div drawio-diagram="4680"><img src="https://doc316en.candera.eu/uploads/images/drawio/2023-10/drawing-7-1698647680.png" alt=""/></div>

When the ribbon is expanded, the following tabs become available:

- Custom
- Applications &amp; Modules
- Scripts
- Builds
- Build (Global)
- Environment Variables

If an advanced settings tab is active and the “Advanced Tabs” button is clicked again, the user will be returned to the Dashboard screen.

---

# Custom

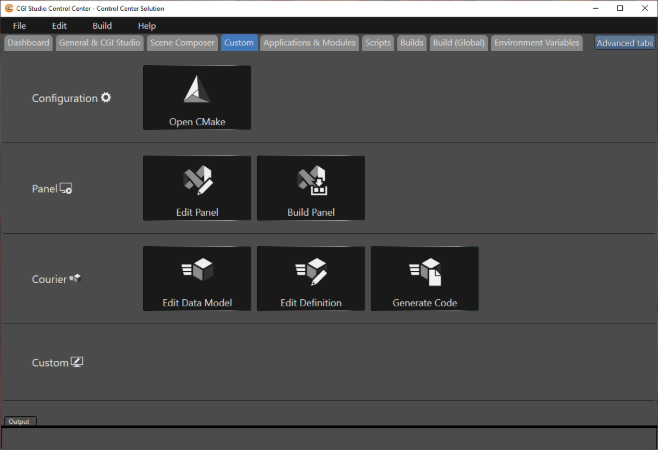
For advanced users, the Custom tab enables the user to edit and build the CGI Panel, as well as edit data bindings and Courier definitions.  
Scripts here, used for general operations, can be changed and customized to fit the user’s needs.

<div drawio-diagram="7767"><img src="https://doc316en.candera.eu/uploads/images/drawio/2025-01/drawing-4-1736920663.png" alt="drawing-4-1736920663.png"/></div>

---

#### Build Configuration  


Advanced users may want to change their CMake project configuration.

##### Open CMake  


<div drawio-diagram="7768"><img src="https://doc316en.candera.eu/uploads/images/drawio/2025-01/drawing-4-1736920688.png" alt="drawing-4-1736920688.png"/></div>

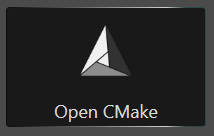
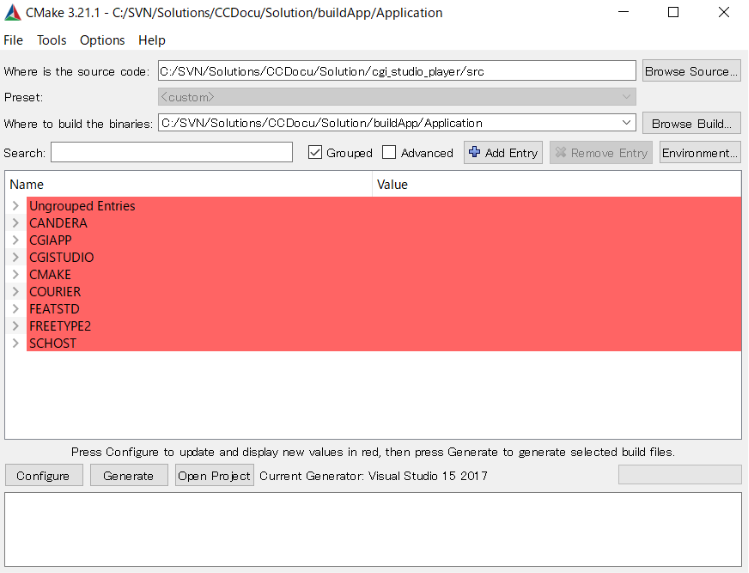
This "Open CMake" button will open your project in CMake, where you can change the CMake settings as you like.

<div drawio-diagram="4684"><img src="https://doc316en.candera.eu/uploads/images/drawio/2023-10/drawing-7-1698648247.png" alt="drawing-7-1698648247.png"/></div>

---

#### Custom "Panel" Section

In this section you can edit or build the CGI Panel.

##### Edit Panel

<div drawio-diagram="7769"><img src="https://doc316en.candera.eu/uploads/images/drawio/2025-01/drawing-4-1736920764.png" alt="drawing-4-1736920764.png"/></div>

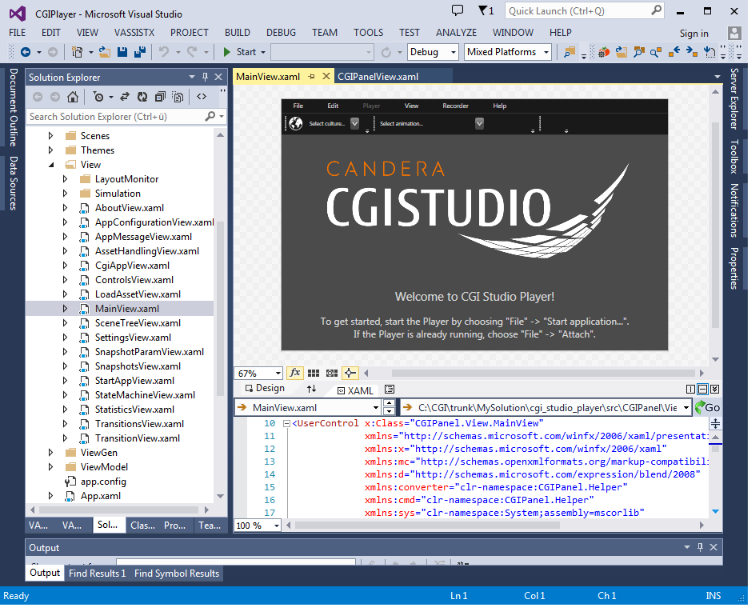
Click on the "Edit Panel" button, if you want to edit CGI Panel. As indicated by the icon, clicking "Edit Panel" launches Visual Studio for editing CGI Panel.

<div drawio-diagram="4686"><img src="https://doc316en.candera.eu/uploads/images/drawio/2023-10/drawing-7-1698648422.png" alt="drawing-7-1698648422.png"/></div>

##### Build Panel

<div drawio-diagram="7770"><img src="https://doc316en.candera.eu/uploads/images/drawio/2025-01/drawing-4-1736920800.png" alt="drawing-4-1736920800.png"/></div>

Click the "Build Panel" button to build the application. This opens the <span style="color: rgb(230,126,35);">[CGI Studio Control Center - Build Window](https://doc316en.candera.eu/link/1117#bkmrk-cgi-studio-control-c)</span> and the build is started.  
A successful build completion is signaled by "... succeeded" text in the output log.

---

#### Custom "Courier" Section

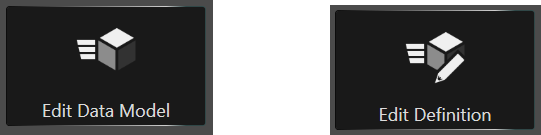
As seen below, this section of the Control Center is for editing the Data Model Definition and the Application Definition, as well as for code generation.

##### Edit Data Model Definition and Application Definition

<div drawio-diagram="7771"><img src="https://doc316en.candera.eu/uploads/images/drawio/2025-01/drawing-4-1736920827.png" alt="drawing-4-1736920827.png"/></div>

<table class="align-left" id="bkmrk-to-edit-the-data-mod" style="border-collapse: collapse; width: 80.7407%; border-width: 1px; height: 105.125px;"><colgroup><col style="width: 47.918%;"></col><col style="width: 52.031%;"></col></colgroup><tbody><tr><td style="border-width: 1px;">To edit the Data Model Definition, click this "Edit Date Model" button to open Visual Studio and edit PlayerDataBinding.xhcdl.

</td><td style="vertical-align: top; border-width: 1px;">To edit the Application Definition, click this "Edit Definition" button to open Visual Studio and edit PlayerGenCode.xhcdl.</td></tr></tbody></table>

##### Generate

<div drawio-diagram="7772"><img src="https://doc316en.candera.eu/uploads/images/drawio/2025-01/drawing-4-1736920852.png" alt="drawing-4-1736920852.png"/></div>

Clicking this generates the above code.

---

#### Custom ☆

<div drawio-diagram="4691"><img src="https://doc316en.candera.eu/uploads/images/drawio/2023-10/drawing-7-1698649058.png" alt="drawing-7-1698649058.png"/></div>

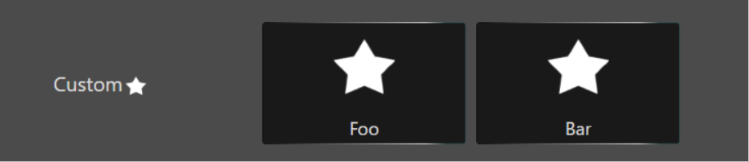
Custom builds defined in the <span style="color: rgb(230,126,35);">[“Builds”](https://doc316en.candera.eu/link/1124#bkmrk-page-title)</span> tab are saved and displayed here. Clicking a button will execute the referenced build.

---

# Applications & Modules

<div drawio-diagram="7773"><img src="https://doc316en.candera.eu/uploads/images/drawio/2025-01/drawing-4-1736920913.png" alt=""/></div>

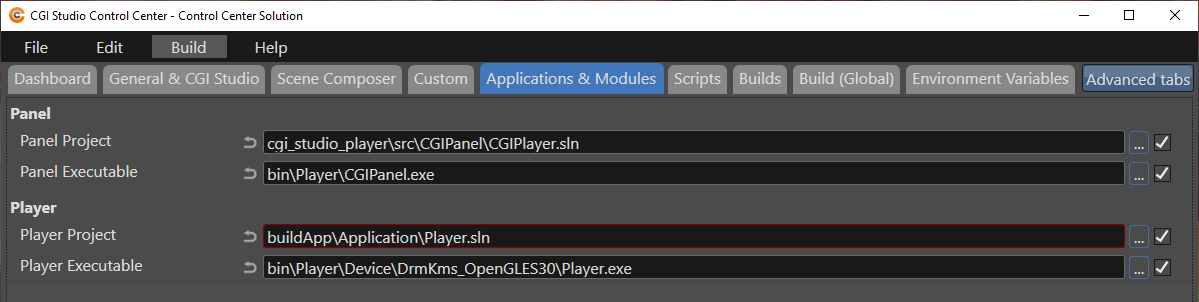
Via the Applications &amp; Modules tab it is possible to edit various reference paths for some external applications.

##### Panel

- **Panel Project:** The path of the Panel project
- **Panel Executable:** The path to the Panel executable

##### Player

- **Player Project:** The path of the Player project
- **Player Executable:** The path to the stand-alone executable

---

# Control Center Scripts

<div drawio-diagram="7774"><img src="https://doc316en.candera.eu/uploads/images/drawio/2025-01/drawing-4-1736920963.png" alt="drawing-4-1736920963.png"/></div>

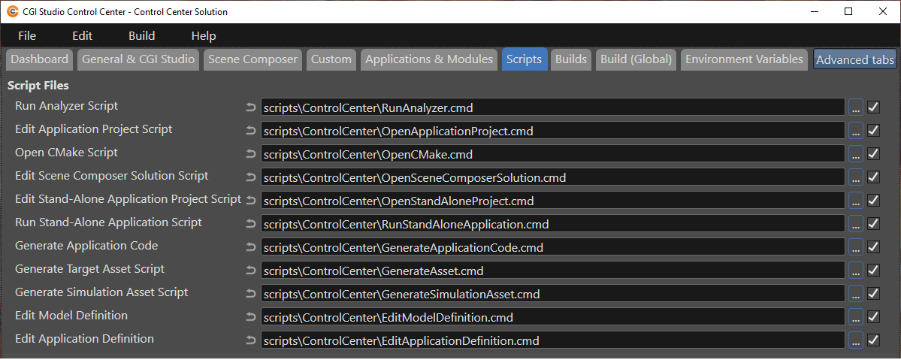
Via the Scripts tab it is possible to edit various reference paths for scripts used by Control Center that launch executables, generate codes and assets, and more.

##### Script Files

- **Run Analyzer Script:** Script which will be executed when the action is triggered from the menu
- **Edit Application Project Script:** Script which will be executed when the action is triggered from the menu
- **Open CMake Script:** Script which will be executed when the action is triggered from the menu
- **Edit Scene Composer Solution Script:** Script which will be executed when the action is triggered from the menu
- **Edit Stand-Alone Application Project Script:** Script which will be executed when the action is triggered from the menu
- **Run Stand-Alone Application Script:** Script which will be executed when the action is triggered from the menu
- **Generate Application Code:** Generates the application code based on the courier definitions
- **Generate Target Asset Script:** Generates Target asset
- **Generate Simulation Asset Script:** Generates Simulation asset
- **Edit Model Definition:** Edit Model Definition
- **Edit Application Definition:** Edit Application Definition

---

# Builds

<div drawio-diagram="4694"><img src="https://doc316en.candera.eu/uploads/images/drawio/2023-10/drawing-7-1698649890.png" alt="drawing-7-1698649890.png"/></div>

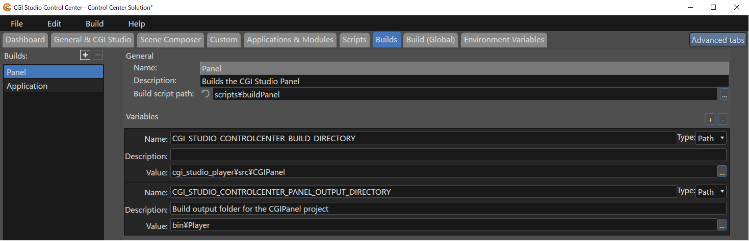
Via the Builds tab it is possible to edit variables that are used in the building of individual applications. Default builds are available in the Builds column on the left-hand side:

Panel – Location of build scripts and other settings needed for building CGI Panel when “Build Panel” on the “Custom” tab is clicked.   
Application – Location of build scripts and other settings needed for running Control Center itself.

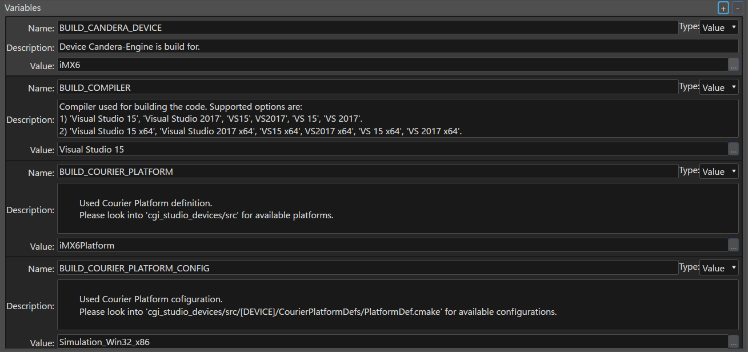
Each build will have variables that can be configured, seen in the Variables table.   
Each variable will have a string name, a string description, and a value. This value will be either of type file (ie. Filename), path (ie. Filepath), or value (ie. string, char, int, etc.). If Type: Value is selected, the file selection button will be greyed out.

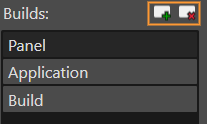
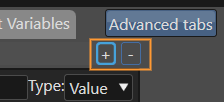
To add or delete builds, use the +/- buttons. These builds can be executed on the “Custom” tab under “Custom ☆”

<div drawio-diagram="7775"><img src="https://doc316en.candera.eu/uploads/images/drawio/2025-01/drawing-4-1736921260.png" alt="drawing-4-1736921260.png"/></div>

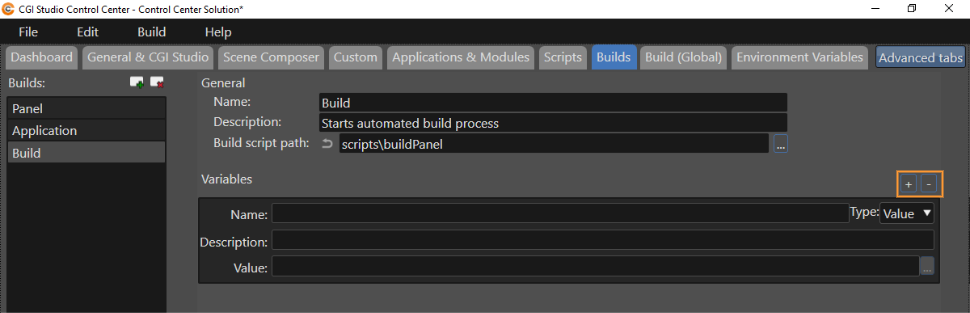
To add or delete variables for a build, use the +/- buttons on the right-hand side of the variables table.

<div drawio-diagram="7776"><img src="https://doc316en.candera.eu/uploads/images/drawio/2025-01/drawing-4-1736921288.png" alt="drawing-4-1736921288.png"/></div>

---

# Build (Global)

<div drawio-diagram="4697"><img src="https://doc316en.candera.eu/uploads/images/drawio/2023-10/drawing-7-1698650190.png" alt=""/></div>

Via the Builds (Global) tab it is possible to edit variables that are used in the building of all applications.

Each variable will have a string name, a string description, and a value. This value will be either of type file (ie. Filename), path (ie. Filepath), or value (ie. string, char, int, etc.). If Type:Value is selected, the file selection button will be greyed out.

To add or delete variables for a build, use the +/- buttons on the right-hand side of the variables table.

<div drawio-diagram="7777"><img src="https://doc316en.candera.eu/uploads/images/drawio/2025-01/drawing-4-1736921324.png" alt=""/></div>

---

# Enviroment Variables

<div drawio-diagram="4699"><img src="https://doc316en.candera.eu/uploads/images/drawio/2023-10/drawing-7-1698650504.png" alt="drawing-7-1698650504.png"/></div>

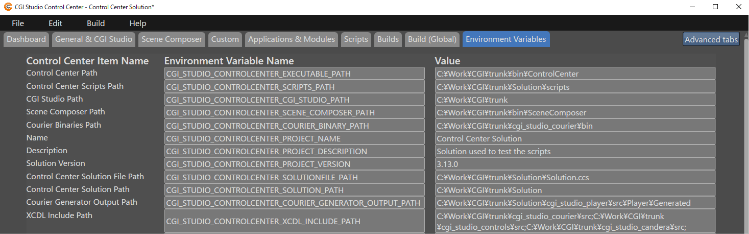
Via the Environmental Variables tab you can see all declared environmental variables. The variables on this page are either purely for reference (eg. Control Center Path) or correspond to variable declarations made elsewhere in the Control Center. Changes to the latter will be reflected here after closing and reopening the Control Center solution.

---