# Multiple Render Targets

#### <a class="anchor" id="bkmrk--7"></a>Description

This section explains how to handle Multiple Render Targets by means of a small ping pong like tutorial solution.

#### <a class="anchor" id="bkmrk--9"></a>Example Solution

<div class="contents" id="bkmrk-rendertargetscameras"><div class="textblock">- RenderTargetsCamerasSolution in folder *cgi\_studio\_player/content/Tutorials/07\_RenderTargetsCameras*

</div></div>#### **Handling Multiple Render Targets** 

The example solution in *cgi\_studio\_player/content/Tutorials/07\_RenderTargetsCameras* consists of the following:

<div class="contents" id="bkmrk-a-main-scene-rendere"><div class="contents"><div class="textblock">- a main scene rendered to Candera::iMX6WindowSurface render target
- three different scenes rendered to three different Candera::SoftwareLayer render targets.

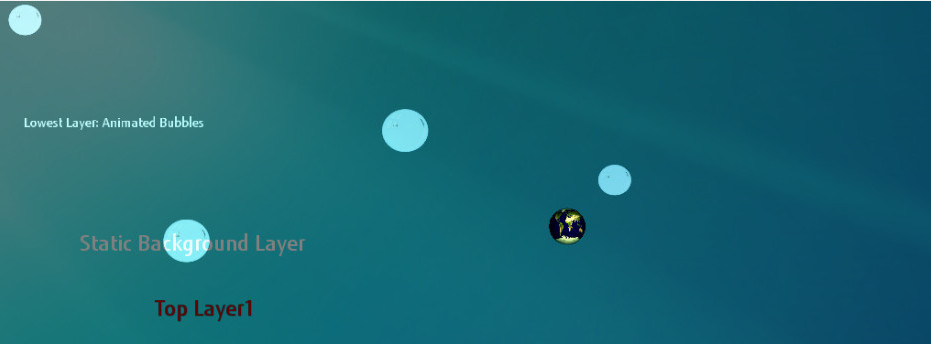
</div></div></div>The three Candera::SoftwareLayer render targets are linked to the Candera::iMX6WindowSurface render target through their **Compostion Camera** property and will be blended against each other.

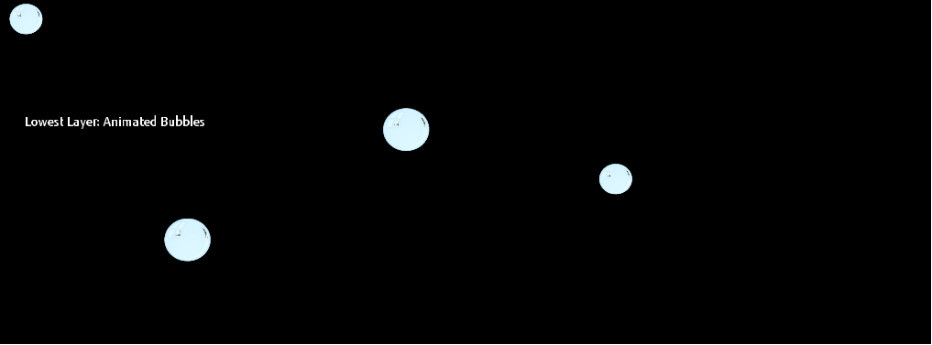
##### Layer 1: Animated 2D Background

The lowermost layer is a collection of bubbles which are animated to bubble endlessly from the bottom of the 2D screen to the top. It is the lowest layer, because the dreary, transparent bubbles shall be colored by blending with a more colorful layer.

<div drawio-diagram="2371"><img src="https://doc316en.candera.eu/uploads/images/drawio/2023-02/drawing-4-1677216810.png" alt=""/></div>

<div class="contents" id="bkmrk--0"><div class="contents"><div class="textblock">  
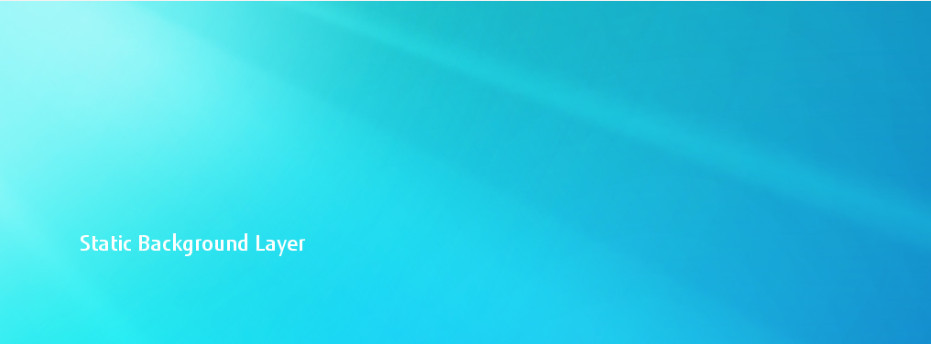
</div></div></div>##### Layer 2: Static 2D Background

This is the layer which will give the animated bubbles some colors.

<div drawio-diagram="2372"><img src="https://doc316en.candera.eu/uploads/images/drawio/2023-02/drawing-4-1677216831.png" alt=""/></div>

<div class="contents" id="bkmrk--2"><div class="contents"><div class="textblock">  
</div></div></div>##### Layer 3: Dynamic 3D Top Layer

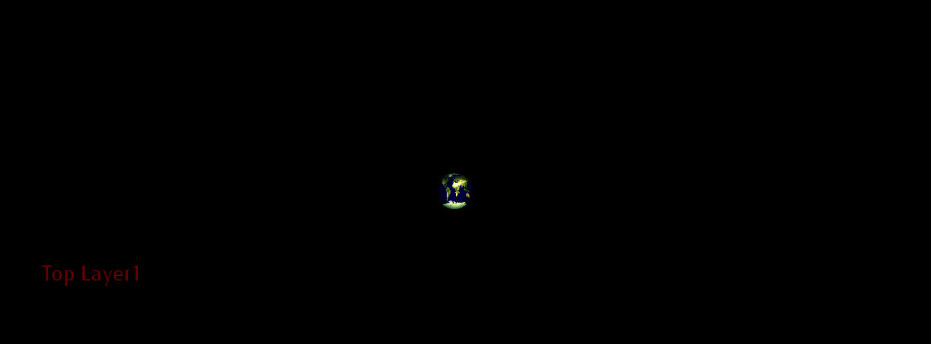
Finally, the top layer shows a 3D scene with a sphere.

<div drawio-diagram="2373"><img src="https://doc316en.candera.eu/uploads/images/drawio/2023-02/drawing-4-1677216849.png" alt=""/></div>

<div class="contents" id="bkmrk--4"><div class="contents"><div class="textblock">  
</div></div></div>The sphere can be linked with the "BouncingNodeWidget". Once this widget is enabled in the Player, it will send the sphere into several directions like in a Ping Pong game. This is the reason, why the camera of this scene needs an OrthographicProjection: The widget needs to match the sphere position on the x and y axis with the boundaries of the 2D projection plane.

Use the velocity widget property to play with different velocities.

####   
**Layer Order and Layer Blending** 

##### <a class="anchor" id="bkmrk--13"></a>Layer Order from Lowest to Top

The correct layer order must be specified on the property "Layer" on the render targets, the bigger value for the top layer:

<div class="contents" id="bkmrk-lowest-layer%3A-layer-"><div class="contents"><div class="contents"><div class="textblock">- Lowest Layer: Layer-ID 0
- Medium Layer: Layer-ID 1
- Top Layer: Layer-ID 2

</div></div></div></div><div drawio-diagram="2374"><img src="https://doc316en.candera.eu/uploads/images/drawio/2023-02/drawing-4-1677216954.png" alt=""/></div>

<div class="contents" id="bkmrk--6"><div class="contents"><div class="textblock">  
</div></div></div>##### <a class="anchor" id="bkmrk--15"></a>Export Asset and Load with the Player

<div class="contents" id="bkmrk-export-the-example-s"><div class="textblock">- Export the example solution to a simulation asset
- When the asset is loaded in the Player, take care to first activate the main scene (Scene3DOwner from solution) and then the other scenes.
</div></div>####   
**Render Target Manipulation**   


##### <a class="anchor" id="bkmrk--16"></a>Accessing Render Target Properties

The BouncingNodeWidget uses a property to specify the name of a layer. Width and height of this layer is used by the widget to let the node bounce within these boundaries.

Refer to the following code example to access width and height of this layer:

```
        if (m_layer != 0){
            RenderTarget3D* rt3d = m_layer->ToRenderTarget3D();
            if (rt3d != 0){
                m_layerWidth = rt3d->GetWidth();
                m_layerHeight = rt3d->GetHeight();
            }
        }

```

##### <a class="anchor" id="bkmrk--17"></a>Accessing Render Target Properties by MetaInfo

Same properties could be accessed by meta information as follows:

```
    const MetaInfo::GraphicDeviceUnitMetaInfo *meta = DevicePackageDescriptor::GetMetaInformation(gdu->GetUnitType());
    if (meta){
        if (meta->LookupItem("Width") != 0){
            meta->LookupItem("Width")->Get(gdu,m_width,sizeof(m_width));
        }
        if (meta->LookupItem("Height") != 0){
            meta->LookupItem("Height")->Get(gdu,m_height,sizeof(m_height));
        }
        if (meta->LookupItem("BlendMode") != 0){
            meta->LookupItem("BlendMode")->Get(gdu, m_blendMode,sizeof(m_blendMode));
        }
        // ...
    }
```

##### <a class="anchor" id="bkmrk--18"></a>Accessing Software Layer Properties

The code snippet below shows how to set the software layer properties for an iMX6 device.

```
    Candera::GraphicDeviceUnit* m_gdu = Candera::DevicePackageInterface::CreateGraphicDeviceUnit(c_softwareLayerTypeHandle); // c_softwareLayerTypeHandle = 0x1a7e4
    static_cast<Candera::SoftwareLayer*>(m_gdu)->GetSoftwareLayerProperties().CompositionCamera() = m_camera3DiMX6;
    //...
```